Acrylic gel nails can be a lovely addition to your cosmetic regimen, but there will come a moment when you want something different or just need to give your nails a breather.
With the proper techniques, removing acrylic gel nails at home may be done safely and effectively.
In this article, we’ll coach you through the stages to ensure a hassle-free and damage-free removal process.
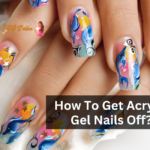
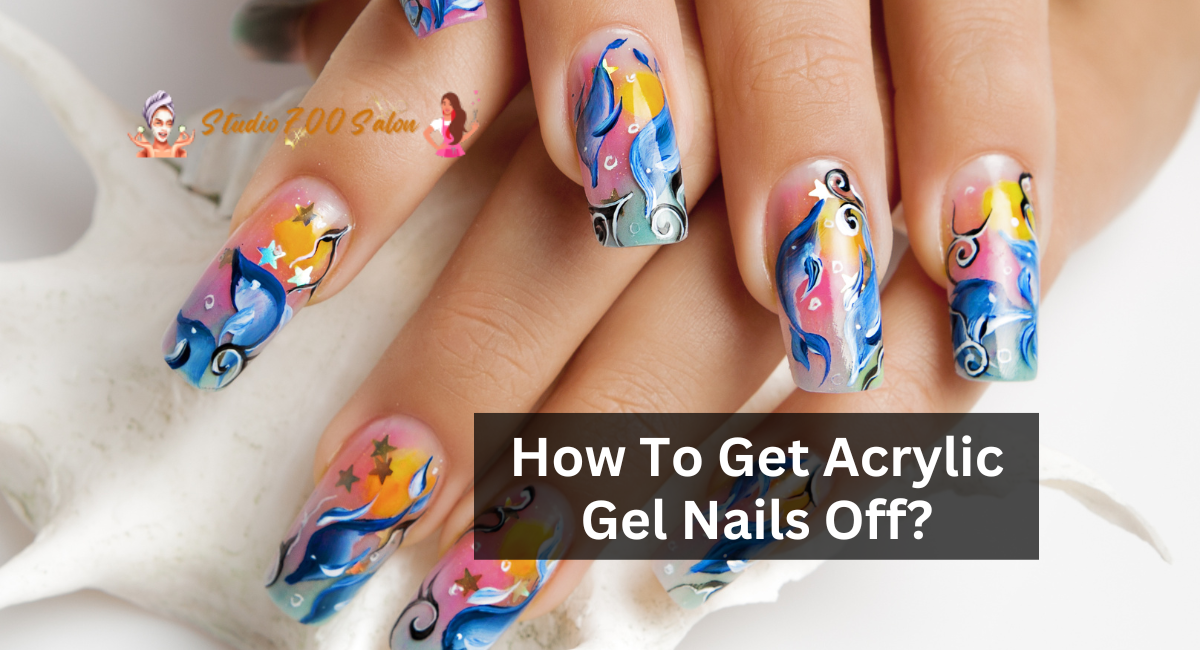
How To Get Acrylic Gel Nails Off?
1. File Your Nails
Sand the top layers of the gel, dip, or acrylic with a nail file. You want to completely remove the protective top coat so that the acetone you’ll apply in the next step can seep through.
File the top layer with a fine grit emery board in a side-to-side motion until it is dull and covered in fine dust.
2. Soak Cotton Balls With Acetone
Take several cotton balls and soak them in undiluted acetone until totally saturated. Cotton pads or foam sponges can also be used.
You won’t be able to remove gel or acrylics as easily as conventional nail polish. Allow enough time for the acetone to come into direct touch with your nail to completely break down the binding.
3. Wrap Your Nails In Foil
Wrap the moistened cotton ball and your finger in aluminum foil and place it on top of your nail. You want it to stay in place while you wait for the acetone to dissolve the polish.
You can also buy reusable soak-off nail covers designed for this purpose. A heated towel placed over your bandaged nails will help speed up the procedure.
4. Give It Enough Time, Then Remove
If you have powder dip nails, allow the acetone to sit for 10-15 minutes. Allow at least 20 minutes for gel paint and acrylic nails to dry. Remove the cotton and foil once a sufficient amount of time has passed.
You should note that the product is malleable and easily removed. Remove any large clumps using a cuticle pusher or an orange stick. Finish by cleaning your nails clean with an acetone-soaked cotton ball.
How To Take Off Acrylic Nails At Home – Without Acetone?
Acetone is the most often used solvent for artificial nail removal. Acetone is an extremely toxic chemical solvent that is harmful to your nails (and your health).
Although acetone is the most common and efficient method for removing artificial nails, there are alternative options you can try that do not need the use of this harsh chemical.
1. Warm Water
You could try using warm water instead of harsh chemicals to remove your acrylic nails if you don’t want to use harsh chemicals.
You can also include a few drops of soap in the mixture. Before attempting to remove your nails, soak them in warm water for 20 minutes.
You might try rotating the nails around while soaking to help them loosen up. After 20 minutes, the glue should be sufficiently free to allow you to peel off the nails with an orange stick.
If they still won’t budge, soak them for another 10 minutes and repeat the process until they are loose enough to be removed.
2. Nail Polish Remover Without Acetone
You may believe that all nail polish removers contain acetone, however, this is not always the case!
Although acetone is a powerful and effective component for removing ordinary nail polish and fake nails such as acrylic and gel nails, there are gentler alternatives.
Non-acetone nail polish remover products usually contain solvents like isopropyl alcohol, ethyl acetate and propylene carbonate. Although these are still chemical solvents, they are less harsh on your nails than acetone.
Although these chemicals require more effort to remove artificial nails because they are not as strong as acetone, they are less drying on your nails and less abrasive than acetone.
3. Cuticle Oil
Another option for avoiding harsh chemicals such as acetone or isopropyl alcohol is cuticle oil.
This is a better way because you are using something that will cure and nourish your nails rather than stripping and damaging them.
Apply cuticle oil to each nail for about five minutes, making sure to get the oil under any areas of the nail that have already begun to grow up.
Put a full cotton ball in the oil and hold it there for a few minutes, or wrap it in tape or tin foil, until the nail is loose enough to be removed with an orange stick.
4. Floss In The Denture
If you’re searching for a unique approach to remove your artificial nails, try this procedure that involves dental floss!
This procedure works best if your acrylic nails are already slightly loosened. If that doesn’t work, you can try to loosen them with warm water or cuticle oil, as mentioned above. You’ll need a companion to assist you with this because it’s impossible to do alone.
Lift the edges of the false nail using a cuticle stick and put some dental floss under the fake nail once the nails are slightly loose.
Move the floss back and forth along your nail until the entire nail becomes loosened and eventually pops off.
This procedure may cause some damage, so buff your nails afterward, apply cuticle oil, and apply moisturizer to help cure and nurture your nails.
What To Do After Getting Acrylic Nails Removed?
Now that you’ve removed the acrylics let’s talk about aftercare. Follow these tips to ensure that your nails are strong and healthy once the acrylics are removed.
1. Polish Your Nails
You may be left with some residue after removing your acrylics. Buff the tops of your nails and smooth the edges with a glass nail file. This keeps your nails smooth and free of jagged edges that can grab fabric, skin, and other delicate objects.
2. Keep Your Nail Beds Hydrated
Cuticles will also require attention, so apply cuticle oil liberally to soften and care for them (as well as the entire nail bed).
3. Keep Your Hands Hydrated
Finally, pamper your hands by using a hydrating hand cream to cover your skin in soothing moisture.
It doesn’t have to be difficult to remove acrylic gel nails at home. You may safely and effectively say goodbye to your acrylics if you follow these procedures and take your time. Remember to moisturize and patiently care for your natural nails thereafter.
Thanks for reading. I hope you find it helpful.